Every child is an artist. The problem is staying an artist when you grow up."- Pablo Picasso

"The world of reality has its limits; the world of imagination is boundless." - Jean-Jacques Rousseau

Showing posts with label Glaze Results. Show all posts

Sunday, 22 December 2013

Winter,Christmas, & Last Kiln Load!

We have been getting quite a bit of snow up here! I really don't mind the snow, just hate when it's too cold to enjoy the snow. Snow brightens up the day, and always puts a smile on my face when I look out into my backyard and see that winter wonderland. We are surrounded by one of the most naturally beautiful areas in Ontario. I'm lucky to live on two acres of land, and have a five minute drive to work, and a 35 minute drive to our summer cottage on Lake Superior. I wouldn't trade it for the world! I do have an appreciation for our four seasons, and I have learned that one needs to enjoy each one in some way or form. Just need to embrace the uncontrolable!... Look how much fun he's having?! ;)


I was finally able to do one last firing before Christmas. It is definitely cutting it close for those few Christmas gifts in there! It was a decent firing, with pretty much what I was hoping for. Here is a couple of pics of some pieces. I tested out a new satin black, with a dip of creme on the tip, I see some potential with that combo. Looking forward to trying it with some other glazes. When time permits I'll post a YouTube video of my last two loads with better photos.


I would like to take the time in wishing 
everyone near and far a very 
Merry Christmas and all the best in 2014!!!

Wednesday, 6 November 2013

I made it!

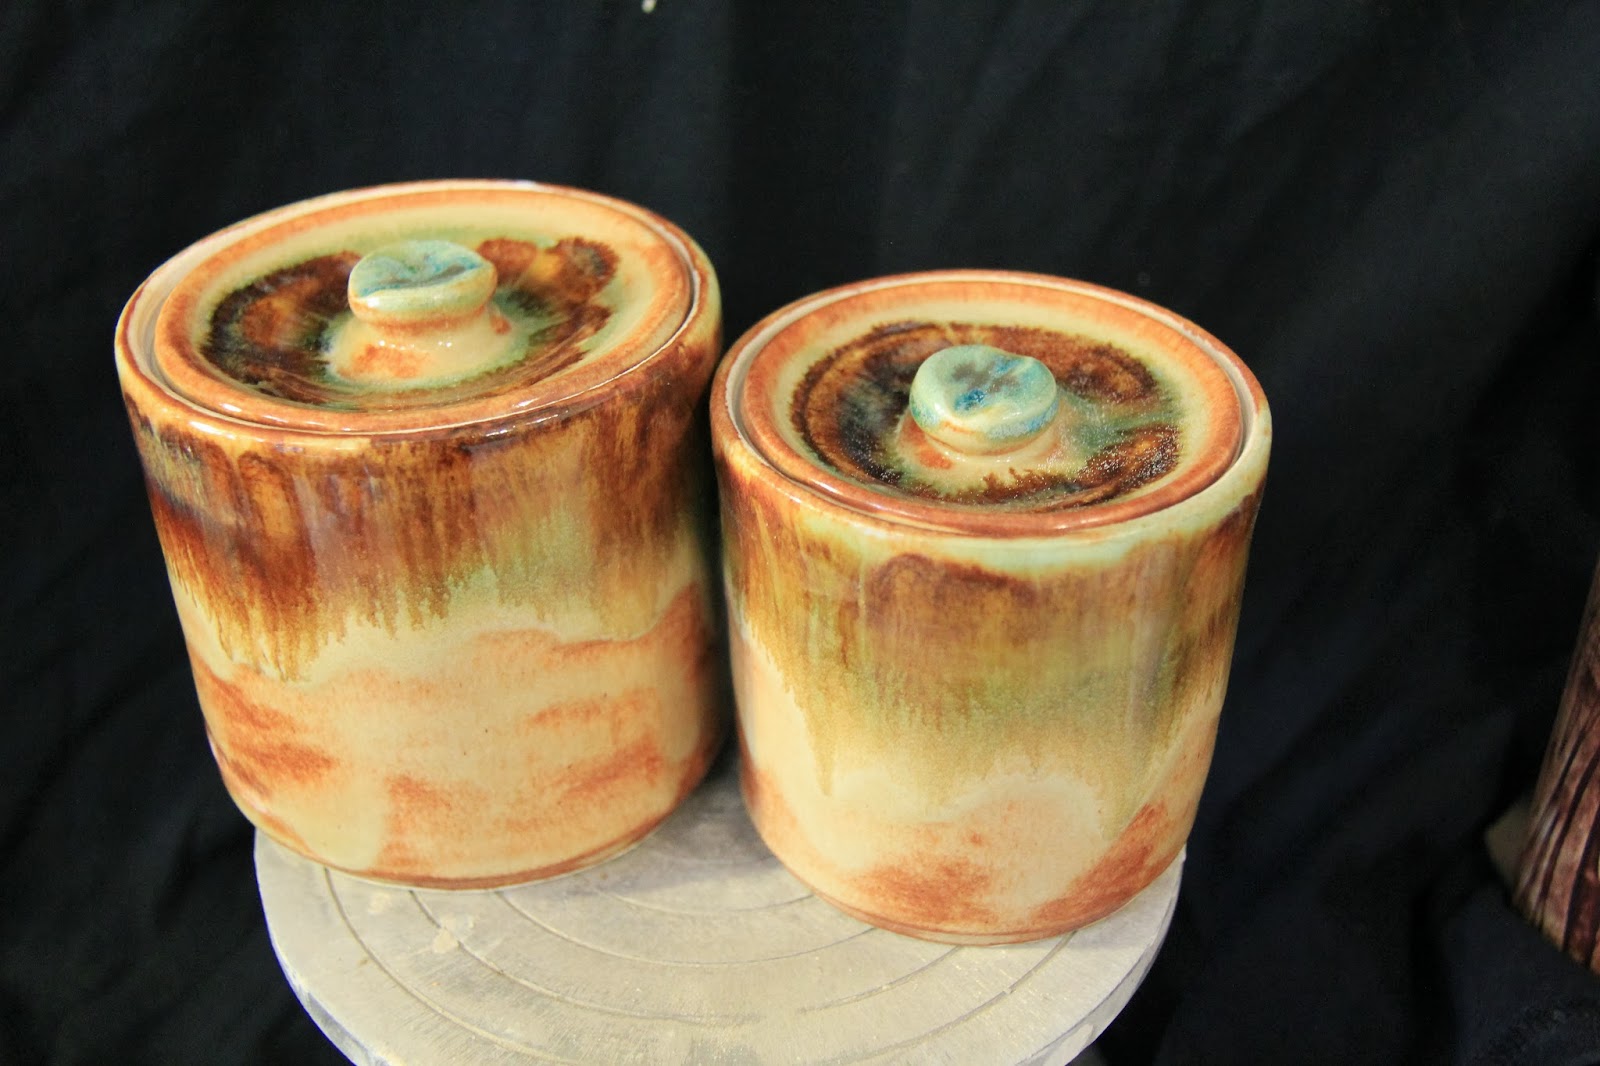
Yes I did!   One last kiln firing before my next show! I will have to admit it was a good one!  I think I have found what may be my next favorite!  Like I have said before, I'm loving this buff clay I've been trying out. It gives the glazes a whole new dimension.  It's just... Yummy.  
This is it, Mayco Manganese Wash on the outside, Iron Red on the rim, then Gun Metal Green.  Wow!   Happy, happy!  Love the runs! It's funny because my eyes are drawn to these cups. I have them sitting on the counter and all I want to do is stare at them!   It definitely takes me to a happy place!  


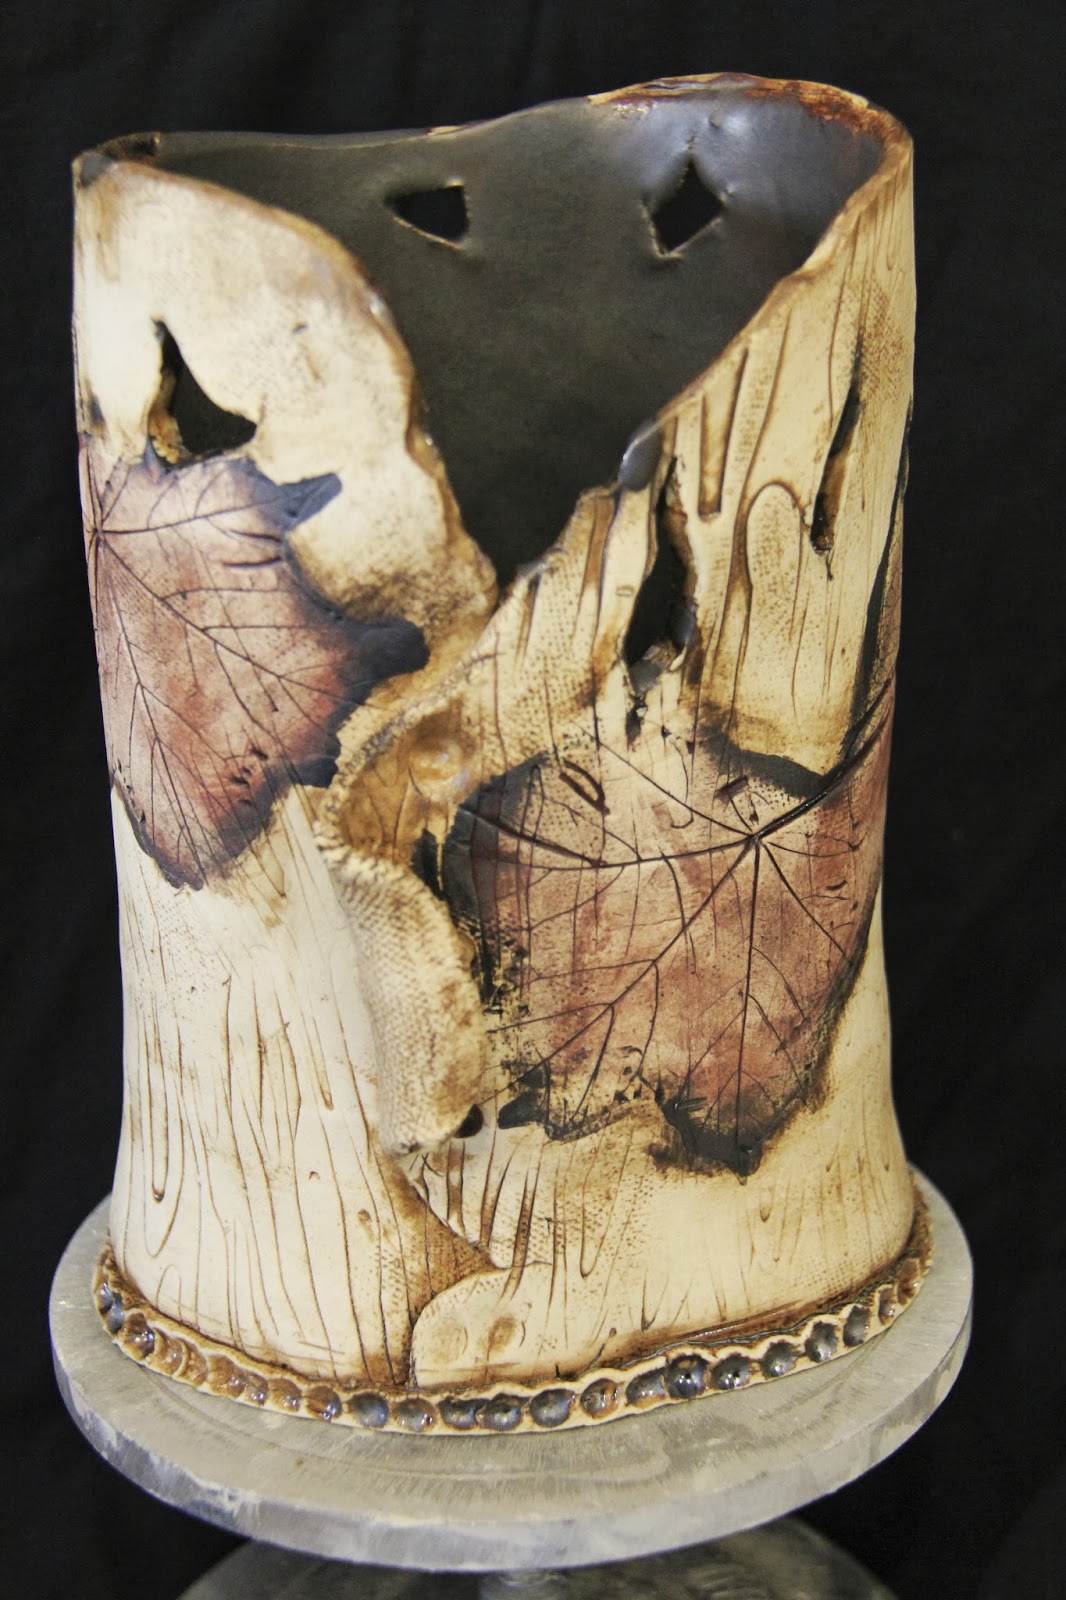
Here are a few more pieces that I would like to share.  I used burlap for texture on the outside of this vase.  


This is another vase using cedar branches for texture. I added my signature piece of driftwood wrapped in place with copper.


These are my Christmas ornaments, I found this idea of the stars on Pinterest.  I joined the two cut out stars at the points and made it look more 3D.  I used Mayco washes on at least one side so that I could place the star directly on the shelf. Didn't want to bother with stilling all of them. I like them! Very country rustic I think. Hopefully they will go well at the sale. I just don't know what to charge!  That is a whole other topic, and something I struggle with!


So the show is this weekend, and I'm hoping I survive. Had to leave town unexpectedly, and won't be back until this Friday.  Although everything is ready to go, it still makes me really nervous! 
Hopefully my next blog, I'll be sharing my wonderful experience from this weekend! 
Until next time...Enjoy, whatever your day may bring you! :)


Thursday, 12 September 2013

Two Kiln Openings!

Only a short time away for my big art show, www.sylvancircle.ca which is coming up very quickly! I have two kiln openings to share, both of which I was very happy with. I do have some nice suprises. I was testing out some new clay, it's a buff clay. It was a little wierd since I've been using a smooth white for so long. Needless to say, I will definitely be getting more of it! I love the results of the buff clay, with Mayco's wash on the outside, and Mayco's Black Walnut on the inside. I couldn't be happier. I love the look, and have had great feedback on it. Here's a pic:


I also used Mayco's washes on the outside of this vase, with the Black Walnut on the inside, however this is on smooth white clay.


 Here are a few more pieces that I'd like to share. One is a completed pitcher that I had posted a while back when I was making it. Couldn't decide on how to glaze it, so it sat around for quite a while. Any questions on the glazes, I don't mind sharing. I have more pics of my pottery on my flickr page, http://www.flickr.com/photos/chinzy/
My next post, I will give a little tour of my display at the art show. Until then... happy potting! :)

Thursday, 16 May 2013

Praying to the kiln gods....

...did work!  We all know that feeling... The anticipation... That first glimps into the kiln! That sigh when everything is out, and there are no disasters on your kiln shelf.. and you have that big smile like you've won a prize! (People think you've lost your mind!)   Here's why I'm smiling today! :)
 
                                                                                                          
Now for some experiments with Mayco washes.... I will first discuss the wall tile. Variation between the glaze over the iron washed sections and the unwashed sections aren't quite as defined as I anticipated. I do know that the glazes I chose to use made that difference. I used Cinnabar and Pam's Blue.   I was trying to get the appearance of a sunset,  something I get to see quite frequently over Lake Superior at our summer cottage.  Transparent glaze would have done this piece more justice. I'm still pleased with it, and it is something I would do again, using different glazes. Here is a closeup of the completed tile...
 
 
Now I did try Manganese Wash as well.  Here are two pendants... the large one I applied the wash while it was greenware, then went over it with a clear after the bisque.   On the smaller one I applied the wash and the clear after bisque.  It looks like it doesn't really make a difference.  Your only advantage to applying at greenware would be not smudging the wash if you were brushing glaze over top.  I used burlap to make the impression on the large piece, and I used a self-made stamp to make the tree.  Next time I will try to not wash off as much as well. I appologize, for my pic.. it's a little blurry.


Now this was my wonderful surprise on the bottom shelf.  The piece had iron red under gun metal green along the top below the stamped pattern and the swirl, then creme only along the top below the stamped pattern on top of the gun metal green and iron red.  Very pleased!!! :). ...now back to glazing, I have another load to do! 

Saturday, 6 April 2013

Update on last load...

So here are a few close ups and tests from my last kiln opening.

This is a handbuilt vase with Iron Red on the exterior that was wiped down. So the surface has an unfinished feel to it. Gun Metal Green was brushed close to the rim on the inside. Then Shino was poured in and out of the interior. The rim was dipped in Shino. Lastly Standard Ceramic Creme was brushed along he rim. The vase is pretty tall, close to 18".


The pitcher had Mayco's Black Walnut on the handle and pinched part on top. The rim was brushed with Gun Metal Green. Wax resist was applied on the Black Walnut. Then the whole piece was finished with Shino.


Here is a new combination I tried on a garlic grater. It's Coyote's Key Lime, with Mayco's Black Walnut. I've had Key Lime for awhile and wasn't quite sure about it.... But now I think it's pretty cool! It has a nice result overlapped with the Black Walnut. I will be trying this combo again. It's a nice summer colour, bright and cheerful... Like me! ( just kidding.... Kinda)


Ok... Here is a Test tile.... It is heavenly! Top was dipped in Iron Red, then brushed with Gun Metal Green, then dipped in Creme. Boy it runs, but the movement in colours is to die for! Love it!


Sunday, 24 March 2013

Fresh out of the kiln!

Ok.. So some good and some not so good! But here is a quick pic of the load, I'll get into details soon!

Monday, 28 January 2013

Glaze Results - Jan. 27

Due to some on going back issues, everything is slow moving for me. So I finally had a glaze fire. So I thought I would post some of my faves from this load! I also mention some of the glazes I used. I only use commercial glazes, so hopefully this will help others. My big platter was in this firing as well. I waited anxiously to see if there was any warping. I've included a before shot of the platter. It was glazed in Coyote's Shino and the handles were Mayco's Black Walnut.


So here is the platter completed. I do have a slight unevenness with it. I'm thinking it's because I had to place it across two half shelves which didn't sit level with each other. Unfortunately I do not have a full shelf to use. So I will have to come up with some solution to this, or not make patters this large. I do love the Black Walnut handles though!


Here are cream and sugar sets. This was commissioned work. I made two sets just to make sure one set turned out. (Of course that isn't always the case!) This is a combination of Coyote's Shino and Pam's Blue, Standard Ceramic's Iron Red and Creme. I love the movement with these glazes.  To give more details, the interior, the rim, bottom inch is Shino and the ouside was poured randomly with Shino while holding the piece sideways.  Making sure that I missed areas.  The missed areas were brushed with Pam's Blue, overlapping the Shino along the edges.  Then Iron Red was randomly squirted while holding the piece sideways.  Be sure not to get close to the bottom, it will run!  Then I dipped the rim about 1/4 inch with Creme.


These mugs were glazed with Mayco's Cinnabar and Black Walnut. First time doing this combination, and love it! This picture doesn't do it justice! Only thing I would do differently is put three coats of Cinnabar instead of the two.


Here is a pic of it all! Some of the ones you see with the dark rims, had the rims dipped in Iron Red and then completely dipped in Shino. Overall a good firing. Pretty happy with the results!